How to Carve a Turkey: A Step-by-Step Guide
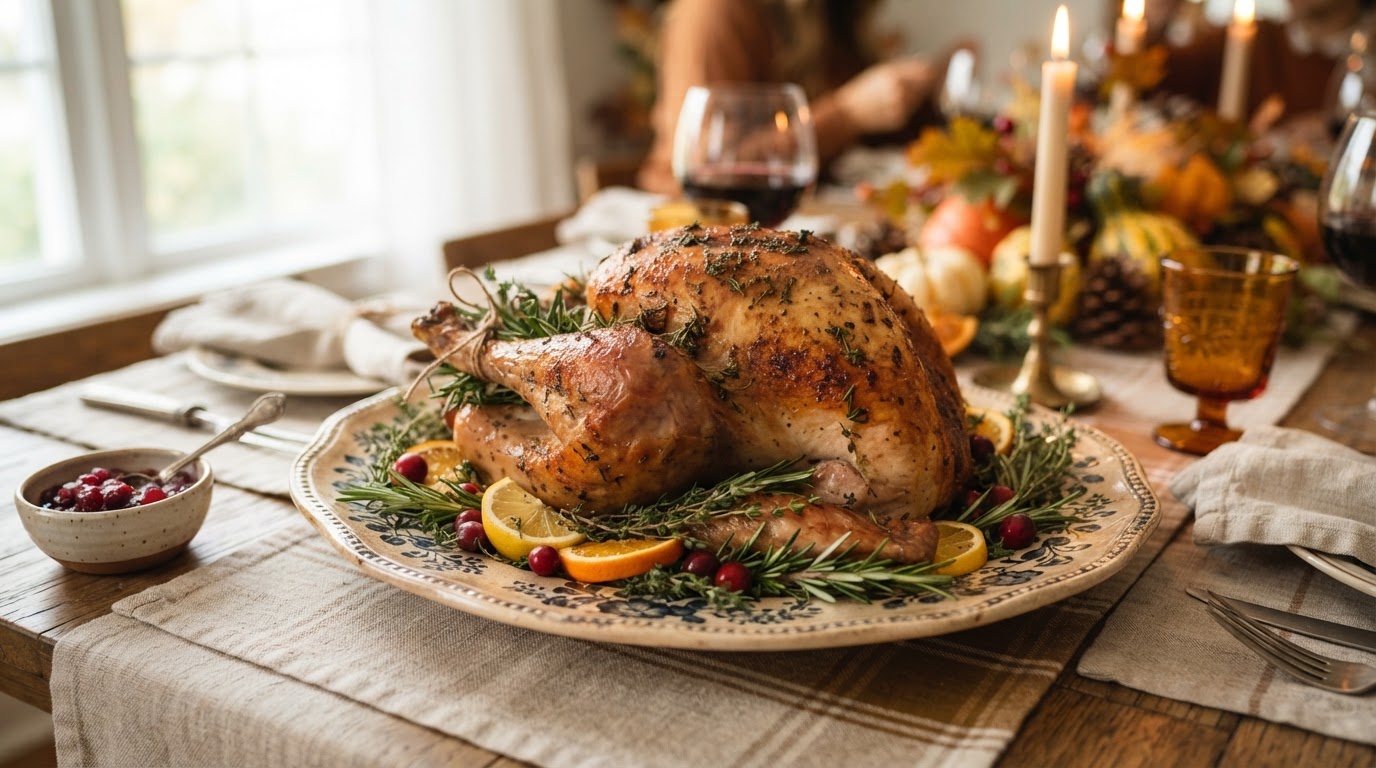
Carving the turkey is the moment the kitchen turns into the table, and a few clean steps make it look easy in front of everyone. Rest the bird first, work with a sharp knife and a sturdy fork, and carve in the kitchen if you'd rather plate it than perform. Here's how to carve a turkey, step by step.
Rest, Then Set Up
Let the turkey rest loosely tented with foil for at least 20 to 30 minutes after it comes out of the oven — the juices redistribute and the carving is cleaner. Set a cutting board with a trough to catch juices (save them for gravy), a sharp chef's knife, and a carving fork. A rested turkey carves far more easily than a hot one.
Legs, Wings, Then Breast
Steady the bird with the fork and slice through the skin between the leg and the body, pulling the leg outward to find the hip joint, then cut through it. Repeat for the other leg and both wings. For the breast, slice horizontally at the bottom of the breast to release it from the bone, then carve vertical slices down the length of the breast. Arrange the slices on a platter as you go.
Serve It Warm
A carved turkey cools fast, so carve close to serving time and tent the platter loosely with foil if there's a wait. Save the carcass for stock. A cleanly carved bird on the platter — breast slices fanned, legs and wings alongside — looks like the Thanksgiving you picture, and it took about ten minutes.
Share this post
Post it, email it, or copy a quote to pass along.
https://thanksgivingcountdown.net/blog/how-to-carve-a-turkey